Creating a topo map - day 3
I woke up extremely early today so that I could get myself ready to take photos in the short time window that's available. It's 5:30 am at the moment as I'm writing this and there's a weather forecast for early fog so I might have to wait a while to get the right lighting conditions.
I took a step ladder out so that I could get a more consistent angle of photos today. This would let me get photos of higher up spots without as much distortion of the image after the stitching step is complete. I'm hoping that taking more uniform angled with the photos will make the image stitching process easier by reducing the amount of processing work needed later for perspective corrections. I took a lot of photos today, in total 234 topographic photos.
Along with more angles I also took photos from slightly more places compared to the other days as this will allow a better coverage of gaps when stitching photos later.
I'm not sure how I'll go about stitching all of these photos together, there's a lot of work to do with that and it's likely going to be a huge pain in the ass to get all of these together.
Annoyingly it appears that while some of the photos have really good focus, the ones I was taking while awkwardly balancing standing on top of the ladder are really badly out of focus. Like this one:
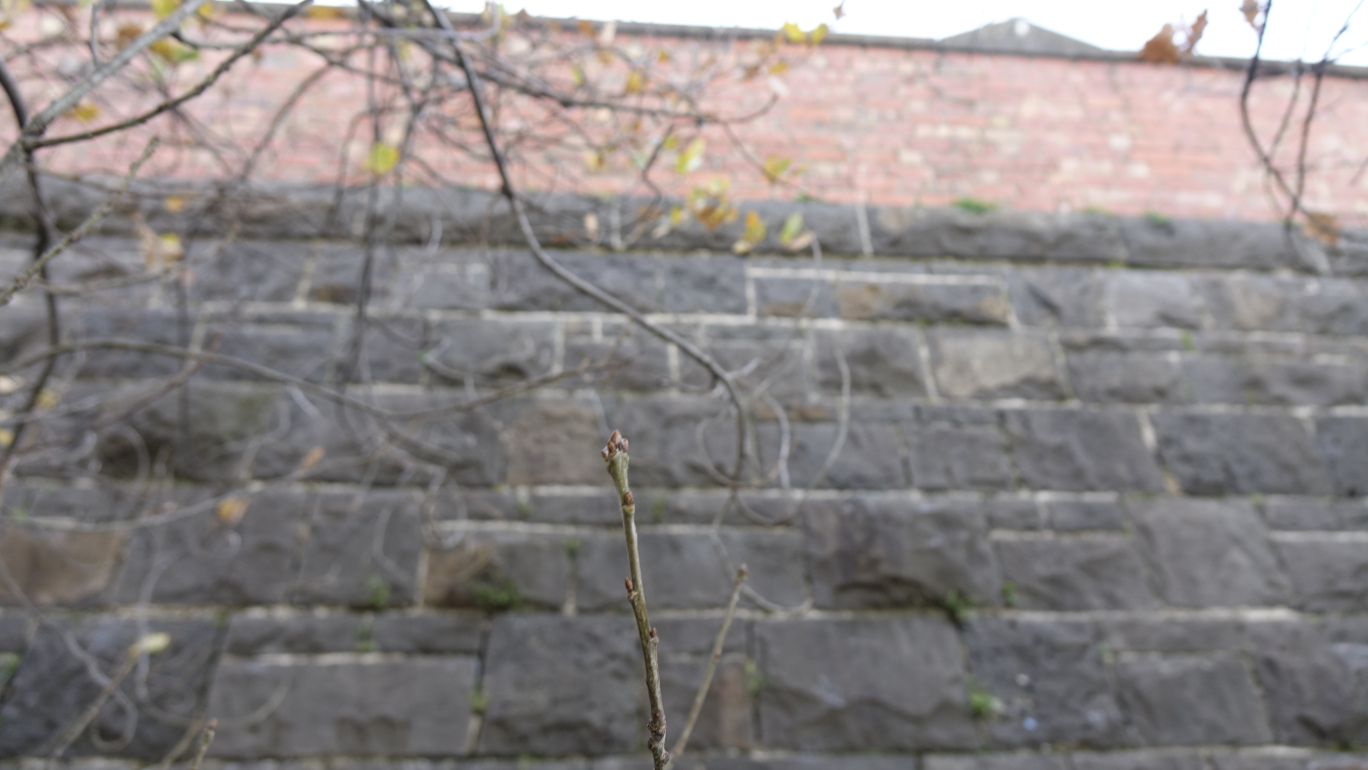
I'll have to go back and retake a bunch of photos, mostly in spots where there's trees that were obscuring the view and the auto-focus focused on the foreground rather than the wall I wanted in the background. I might need a better set up with the ladder so I can hold the camera with both hands safely.
I'll also likely have to plan how I take the photos a bit better since I'm up in the hundreds of photos already and keeping track of where everything was taken is getting more difficult as I get more photos.
Climbing session
Later in the afternoon I climbed here for the first time since I started this project. I've been searching for sections of the wall that are hard to climb without eliminating holds, due to the enormous number of features there's not a lot of places where the routes are hard. That said there's a few interesting spots which start from sitting starts that have some interesting moves. I've also been searching for routes that have some sort of nice component to them without thinking just of difficulty, by providing more of a variety of routes it will be more enjoyable to a variety of people who might wish to try them.
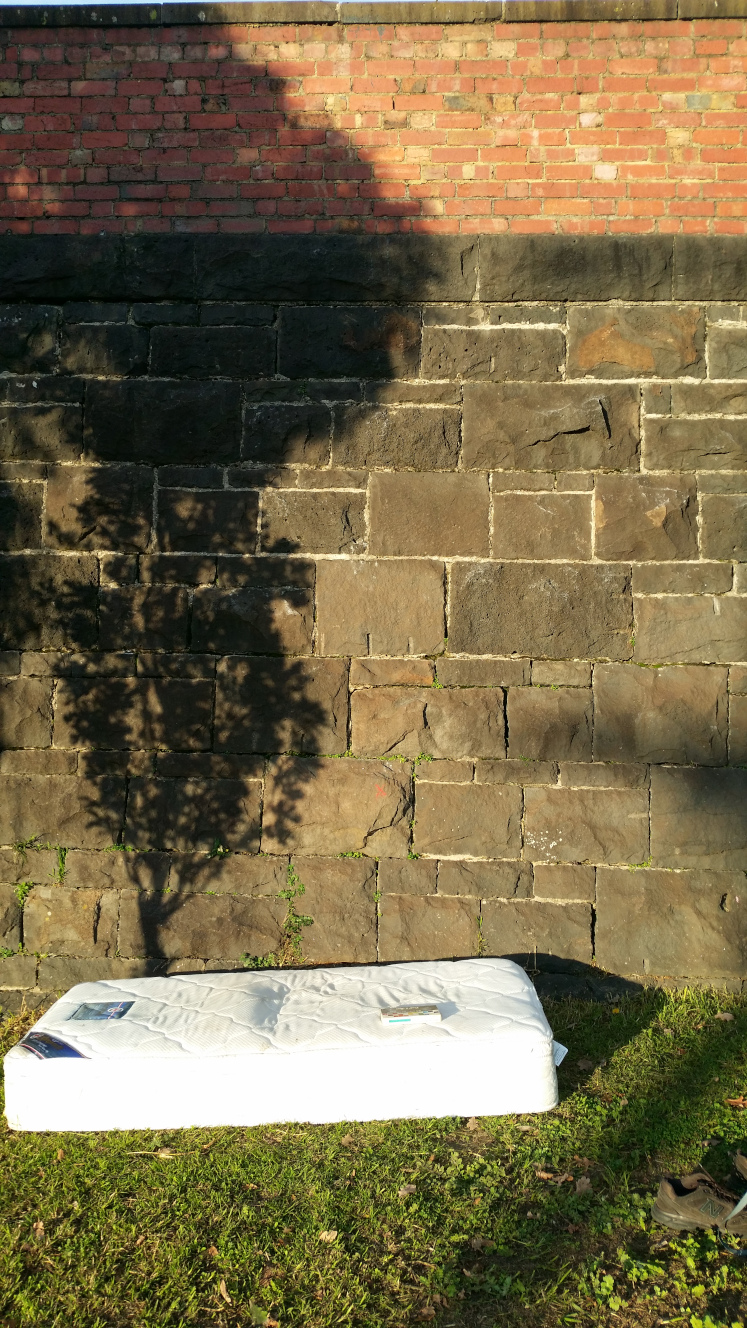
One of the interesting things about bringing along a mat for protection is that there's some routes that you can try that would be far too dangerous otherwise. This has been an important part in finding some of the harder routes on the wall, since usually if I climb here I'm just climbing on the safe and easy routes that are good for exercise purposes but aren't especially difficult from a climbing side of things. Before I was taking some protection out here I didn't really try anything more difficult but recently when I've been climbing with friends who are far more skilled climbers there's been a lot of interesting routes we have discovered. I figure if I'm putting together some info that the climbing community will find useful I'll have to push myself on the climbing difficulty a lot when I'm trying these routes out.
Here's an example of a sitting start route I like, both hands start on the block with the red X marked with chalk and you climb up to where the bricks are:
Looking at this photo later I can see that it wouldn't be easy to find this route if you weren't familiar with the wall since most of it looks fairly similar. Something I'll have to keep in mind for later with this project.
A bit later some other climbing enthusiasts arrived while I was there and we marked out some routes using chalk. There's a lot of really interesting climbs you can do if you mark out routes and eliminate holds. It's also interesting to see how skilled climbers go about the climbs, I pick up a few new things each time I go climb with people that know what they are doing.
This post is part 4 of the "TopoMapCreationProject" series:
- Creating a topo map - intro
- Creating a topo map - day 1
- Creating a topo map - day 2
- Creating a topo map - day 3 *
- Creating a topo map - day 4
- Creating a topo map - day 5
- Creating a topo map - day 6
- Creating a topo map - day 7
- Creating a topo map - day 8
- Creating a topo map - day 9
- Creating a topo map - day 10